VideoHive Author: How to create and set up your profile
When I started working with Motion Graphics in the early 2000s, I always wanted to have a great portfolio, work in Buck in New York and earn lots of money.
Some things have changed since then. I still want to improve my portfolio, despite having already many projects that I am proud of. I respect it, but I no longer want to be a Buck employee. And money… the focus has changed from earing lots of money to not wanting to worry about it anymore.
Table of Contents
What changed during this time that made me think differently?
VideoHive is the largest template sales platform for After Effects and Premiere for people who need to create videos, whether they are professional or not. About 50.000 projects are offered by more than 4.000 authors around the globe. VideoHive is one of Envato’s many marketplaces.
Founded in 2006, Envato is a giant that provides all kinds of creative products: WordPress themes, images, videos, 3D files, soundtracks, among plenty of other stuff. In return, the company earns a percentage of every sale. Envato is almost reaching the $650 million hallmark in sales.
How did this change the way I think about my work and ambitions? Today, Envato relies on more than 1.500 professionals who get 100% of their income thanks to products sold through its platforms. I believe that there is much more than that into it if we actually take into account how relevant it is to earn money in dollars in countries where currencies are extremely devalued.
My goal is to create a super useful guide for anyone who wants to become a VideoHive author. In return, the links in this article are affiliated. If you, like me, want to get into this universe, along the way you will surely buy some product on VideoHive to study how it was done or to help you with some specific task. If you register yourself using my link, I will get 30% of your first deposit. This will help me continue to produce content and it’s a way to earn a passive income that I also want to teach you how it works down ahead.
People who have a nice After Effects template portfolio published on VideoHive change the way they see work, they do not exchange their time for money anymore, instead, they build a structure that will provide passive income, as I explained in the post. Motion Graphics: How to make more money.
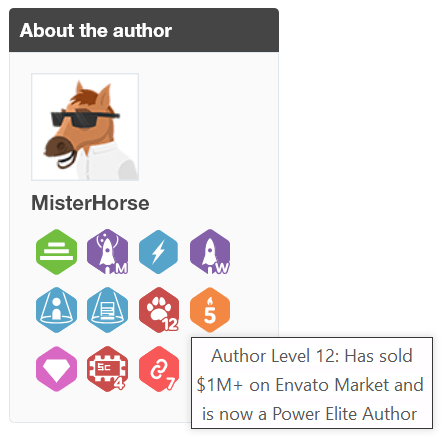
There’s some other relevant information: More than 100 authors already have more than $1 million in sales in the community, like the famous Mister Horse, for instance! (Do you remember him? The horse face guy!)
Looking for information
All of this motivates me to produce and make available templates for After Effects on VideoHive, even more so if we take into consideration that the finished product generates a passive income, with minimum maintenance required.
I can also challenge myself technically and creatively to outline things that would not be possible in my daily work.
This experience has been worth it for me. Do you want to know if it would for you?
It’s worth a shot, becoming a Videohive author is easier than it sounds, all the information you need is available in Envato’s information library.
But there’s one issue nonetheless: the contents are extremely segmented, without following a proper order and hidden in basic every corner of this library. I went through hell and back to get the information together and to have a reasonable understanding of every single step to become an author and create products.
That’s the reason why I created this step-by-step on how to become a VideoHive author, gathering all the information and experiences I have acquired over time, both in the Envato library, discussion forums, and others areas, mashing all of that together in this guide, with a logical order.
This will be a series of articles, approaching the main issues when becoming a Videohive author: How to create the account; How to develop a product; How to publish it; How to spread it; Support-related products, among many other things. Of course, if any question is unclear, or if you have other inquiries, then post your comment, I will address your questions.
In the end, if you put the whole process into motion, you will be selling your products online right away, while you use your time for what you consider to be the most important. In my case? That’s to think of new products!
Become a VideoHive Author: The Envato’s Step-by-Step
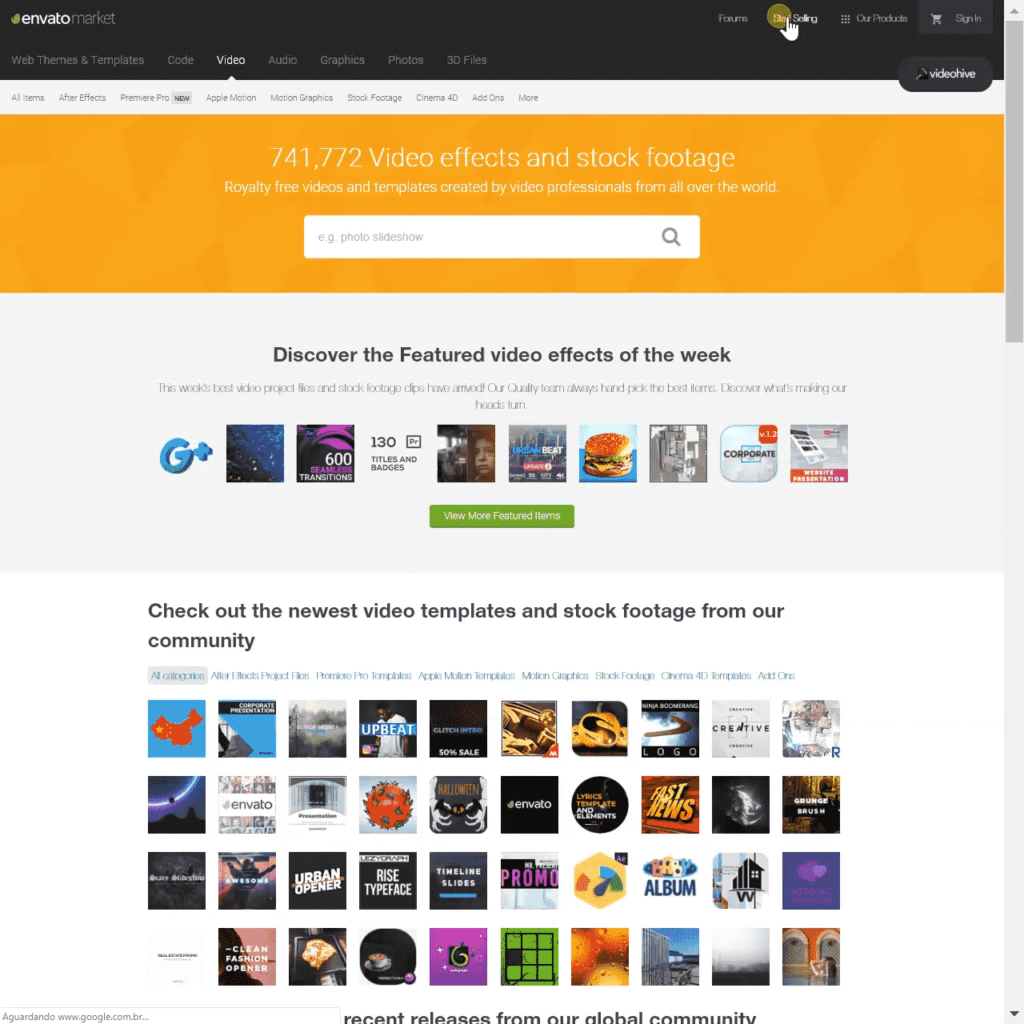
Let’s do this then, curb that shyness and jump on VideoHive! On the website’s homepage there is a link inviting you to Start Selling.
Click on ‘Start Selling’
Click on Start Selling. You will be taken through a step-by-step with tips and some important decisions to make. I’ll thoroughly explain each step.
STEP 1
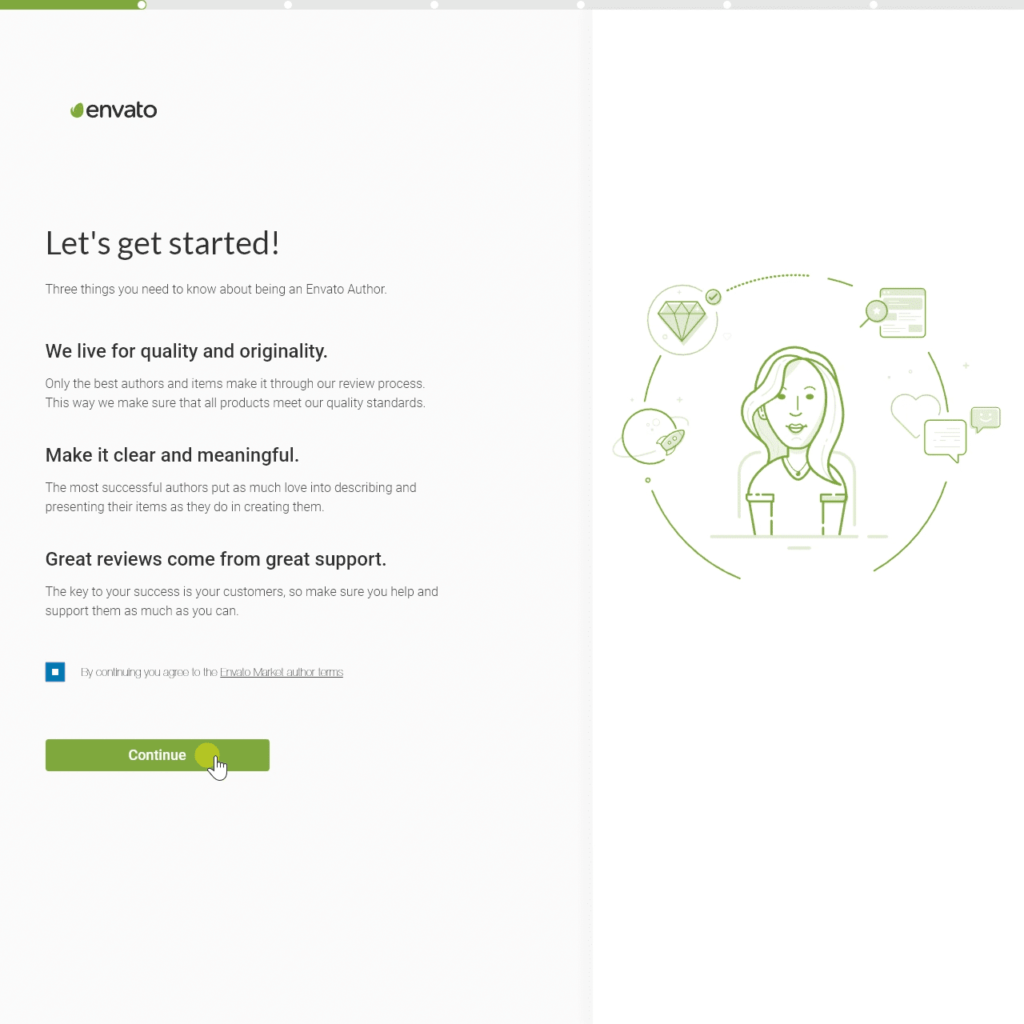
The first screen of the step-by-step gives you some really superficial tips on how you can be a VideoHive author. Create original and quality products, clear and meaningful descriptions, provide some fine support for your products. These are some valuable tips, but the real role of this step is to make you accept the terms of use for authors in the Envato Market. These terms basically outline your responsibilities and obligations as an author. You should read them, although most of the topics will be dealt with later on in this guide.
Just don’t be afraid, if you accept the terms, then click on Continue.
Step 1
STEP 2
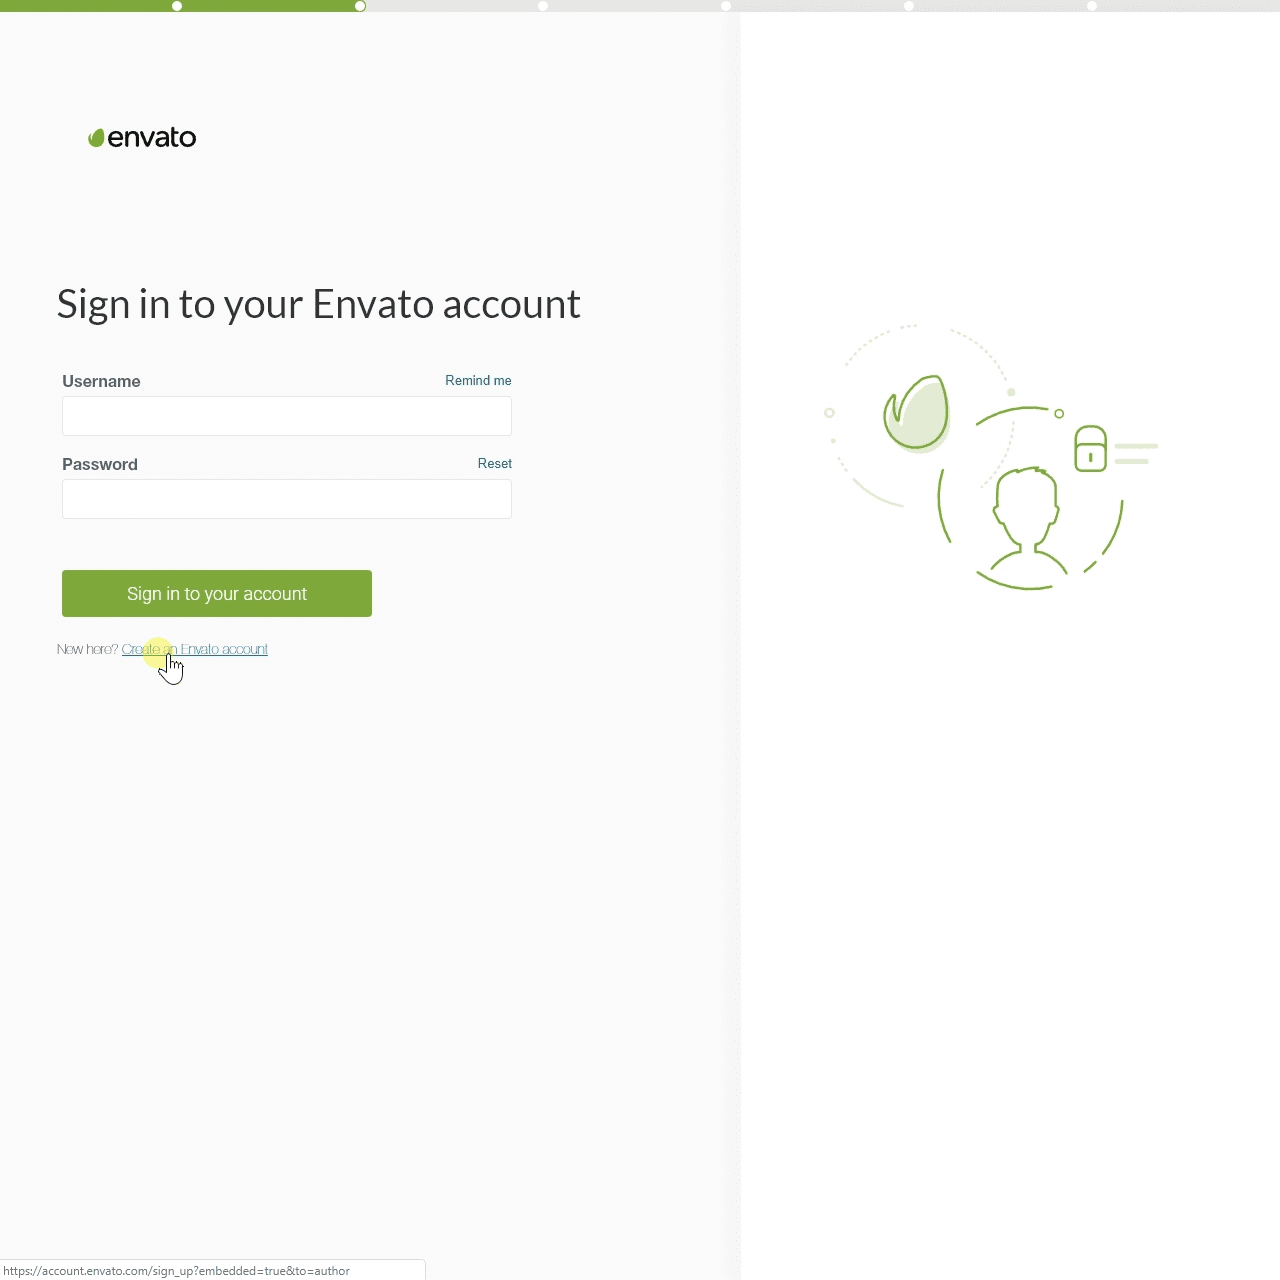
Now login or click on Create an Envato account to create it. Type your details, and define your Username.
Step 2
Choose username
Pay lots of attention to this step, your username will define the URL of your VideoHive store. Choose your username carefully!
My tip is to pick the username as if you were about to choose the name of your new company, check if it is available for use in social networks beforehand, if there is a domain available to be registered, making sure that the name is unique and creative. I went for 2DeadFrog, although the name does not make much sense today, it’s easy to find me online:
That name will play a big part in your online presence down the road. If you choose a simple generic name, you will have a hard time standing out.
If necessary, you can change your username up to 3 times a year, using Envato Account settings, but this will change your VideoHive URL as well.
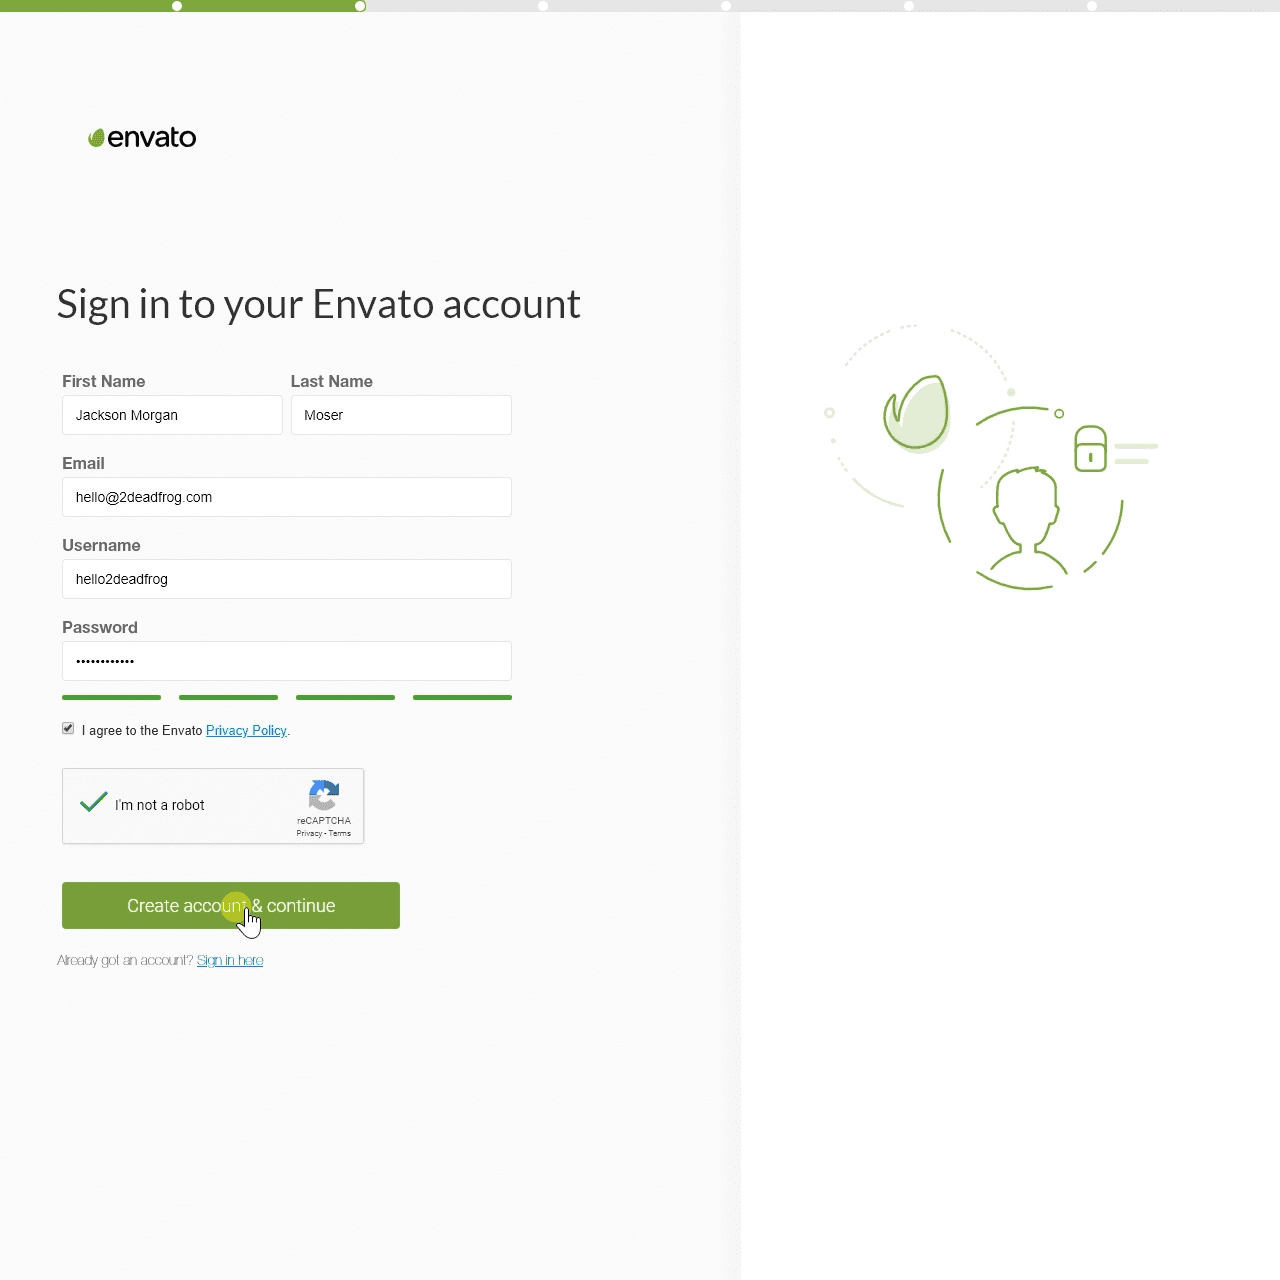
You will need to accept Envato’s privacy policy, verify that you are not a robot and click on Create account & continue.
Step 3
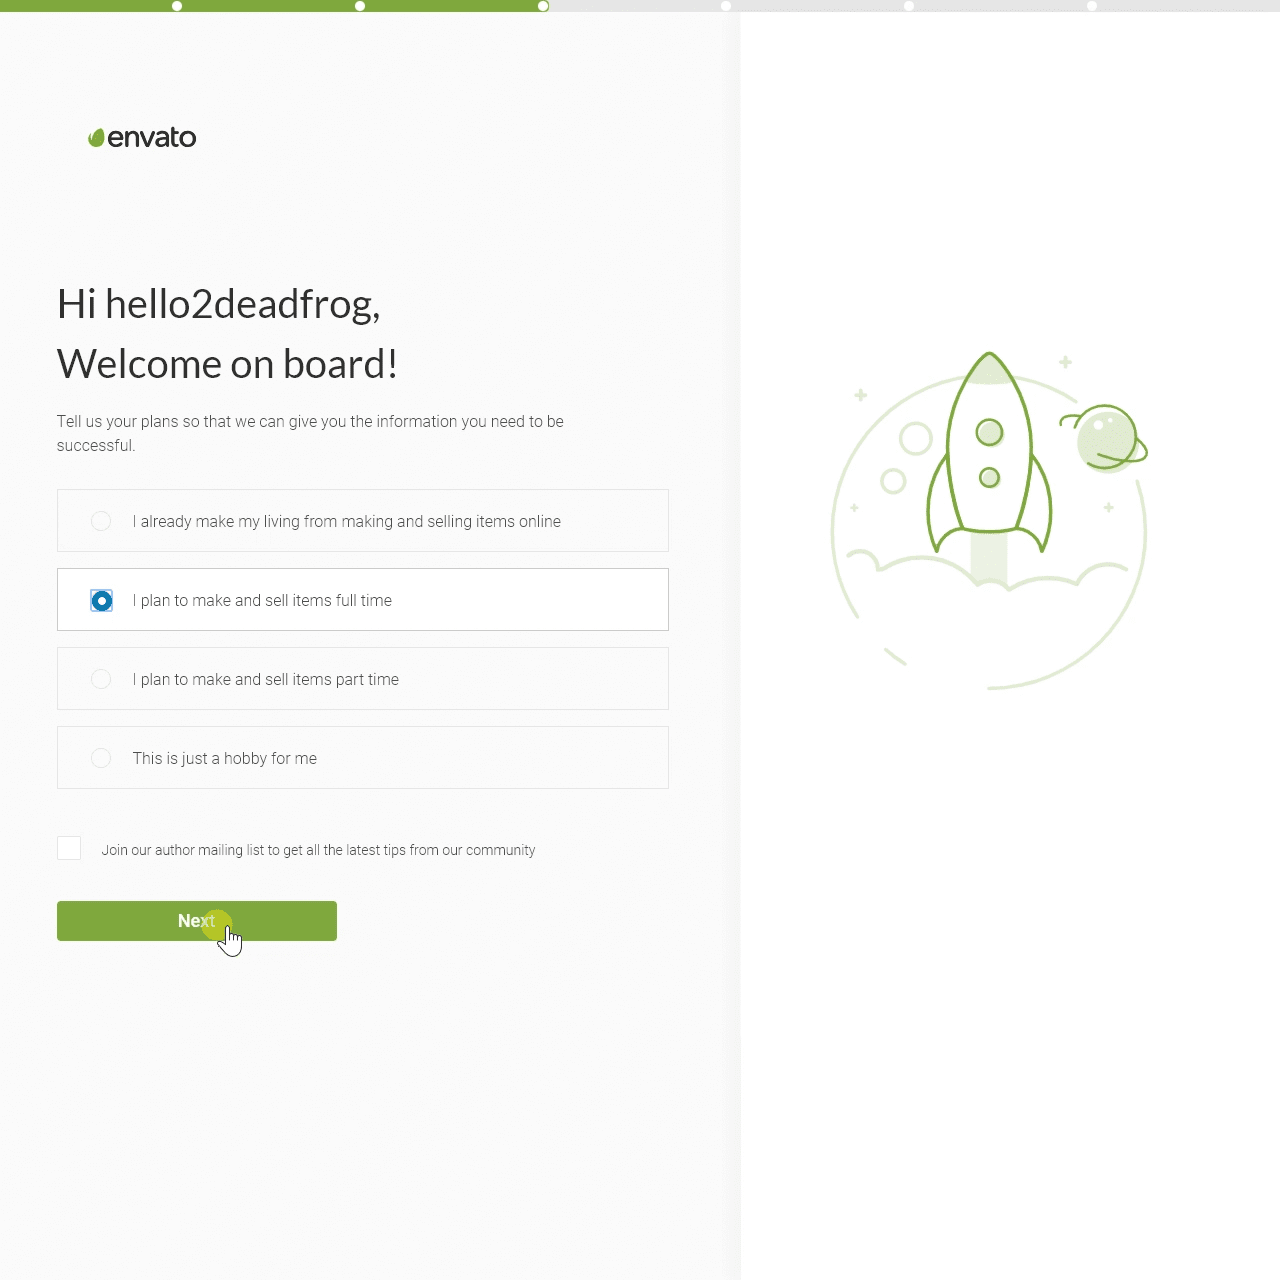
The next step includes a question about your plans regarding selling products. Honestly, I believe the thing here is for statistical purposes only. What matters the most to Envato is that you join their mailing list. You don’t have to pay anything, the emails are not particularly spam-like and sometimes they are really useful. Click Next.
Step 3
Step 4
This next issue is of utmost importance. At this point, you choose whether you want to sell your items exclusively on VideoHive or not.
Price formation
In order to make this decision, we must understand how your price is formed. Think of a cake that is cut into 3 slices, always like this:
- Price of the item:You are the one who sets it, this is the real value that you will get for the product. This is your cake slice.
- Buyer rate:This is the first slice that Envato gets. A fixed value is charged depending on the type of product (see table). It’s $6 for After Effects Templates.
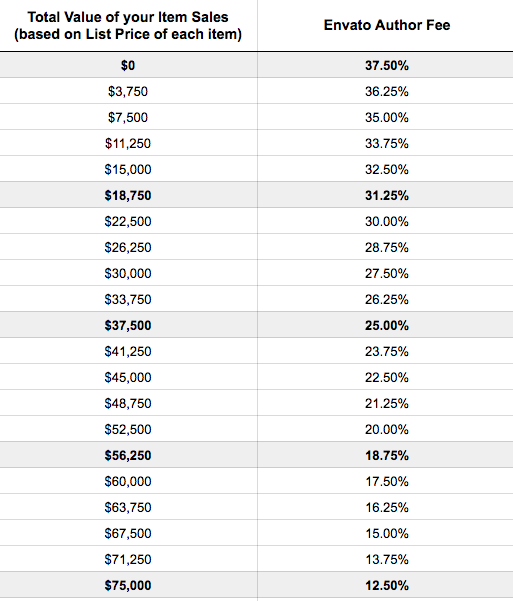
- Seller rate:This is the second slice that your little friend Envato gets its hands on. A percentage of the value that you defined as the price of the item is charged (did you get it? This slice is cut from your own slice, so you get the price of the item, minus this rate). In the case of a non-exclusive author, the fee is 45%. If you are an exclusive author, this rate is progressive, established according to your total sales sum, following the table below:
Source: Envato.
It’s a bit confusing, so let’s throw a scenario to see how much you would earn on a product whose price you have set is $50. The cost to the end customer will include the fee they pay to Envato, $6 for After Effects Templates. So, the final sale price is $56.
Let’s say that you are an exclusive author, yet a beginner, who has never made a sale, consequentially you will have to pay an author fee of 37.50% of the $50 you have set. So, taking away all the fees, you will get $31.25 on your first sale. This represents 56% of the selling price.
A year has gone, and you have accumulated a few hundred sales, you have now a total sales figure above $75,000. We should consider the gross revenue, i.e., before any fees are charged. You will then pay the lowest possible author fee: 12.50%. When selling the same product, you will now get $43,75. This accounts for 78% of the selling price.
That friend of yours, who also reads the 2DeadFrog Blog, but opted not to be an exclusive author, also released a $50-product with a final price of $56. He will pay an author fee of 55%. For this product, regardless of sales volume, he will always get $22.50 with each sale. Which is 40% of the selling price.
To make this calculation easier, I created a spreadsheet that you can download by clicking here. Play with the numbers and have a better understanding of how pricing works.
Special Taxes
Important: When selling your items to American citizens, you may need to pay a fee of up to 30% of the price you set. In some cases, you may avoid this fee by filling out a form. I will explain how this works a bit ahead on Tax Information.
Being a non-exclusive is only beneficial in two scenarios, in my perspective:
- If you have some strong means to advertise and directly sell your product.g.: a site with hundreds of thousands of monthly visits from template consumers.
- If you want to post the very same product in different marketplaces.Maybe it will work if you want to sale bank stuff, but, for templates, that’s going to be a lot of effort and it’s hardly going to be worth it down the road.
Choose the more adequate option to your goals and then click Next.
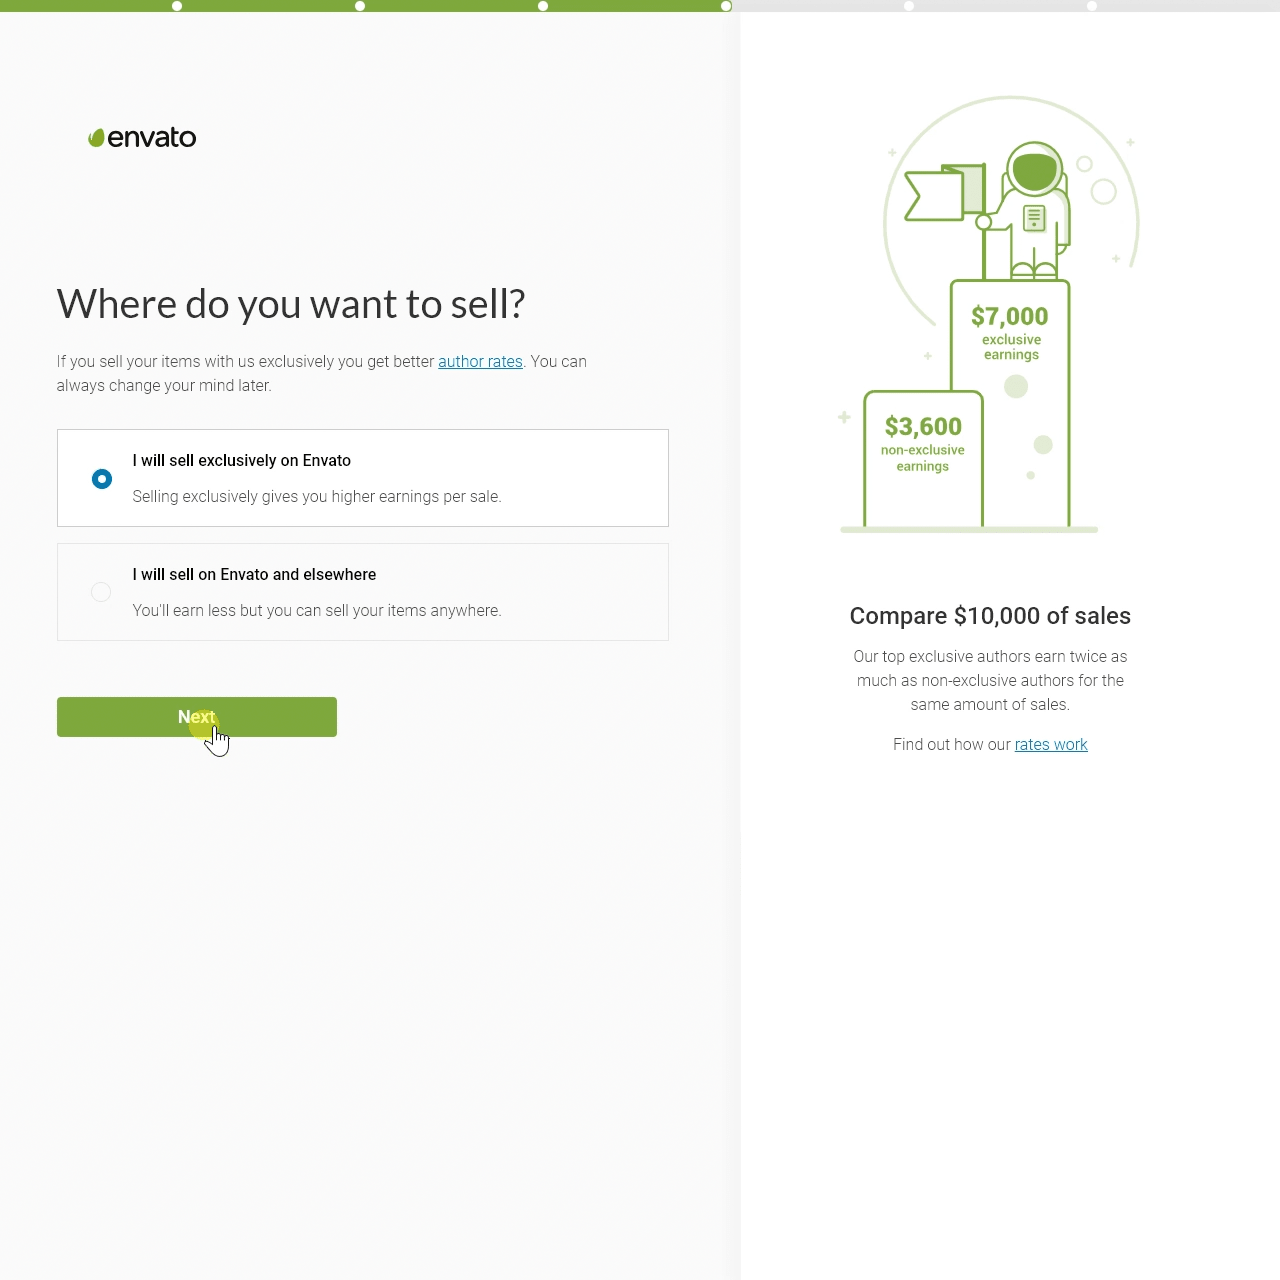
Step 4
Step 5
Envato Market allows you to sell a wide range of different creative products. This is the time when you pick what type of product is your speciality. Go for Stock Video and Templates to become a VideoHive author. Don’t worry about it, if you also want to sell products from other categories that option will be made available in the future. Click Next.
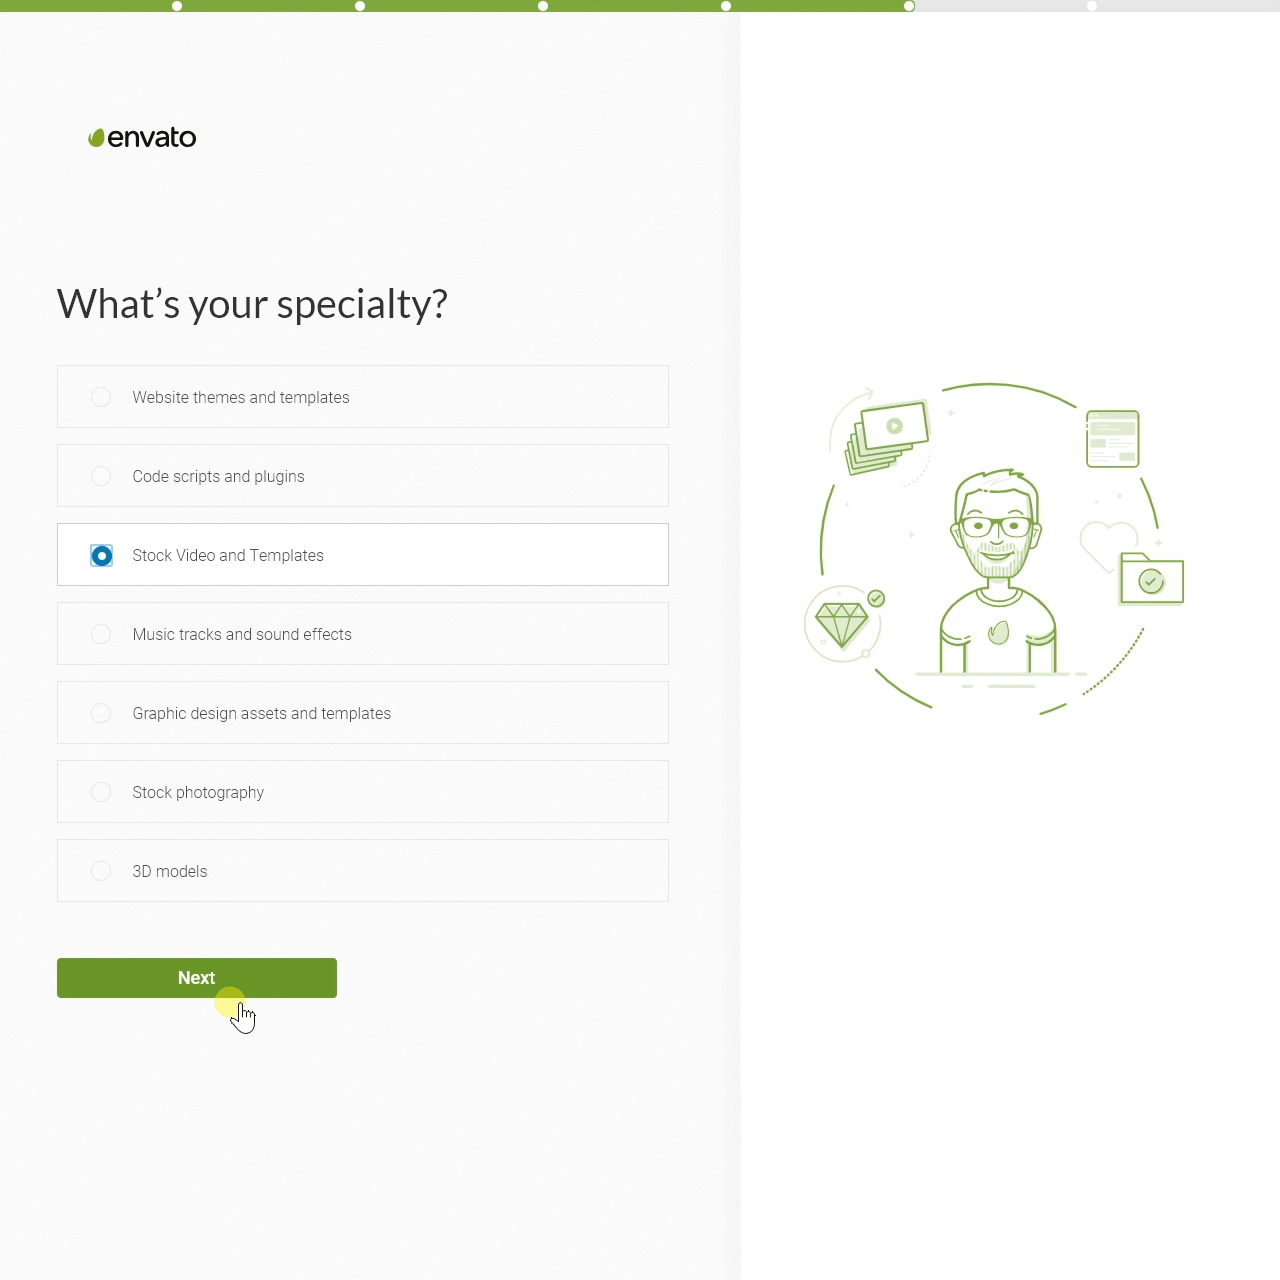
Step 5
Step 6
The Envato step-by-step ends right here. They give you some reminders during this last step, stuff that I will approach later as well.
My step-by-step is just starting. Click on Take me to my dashboard to proceed.
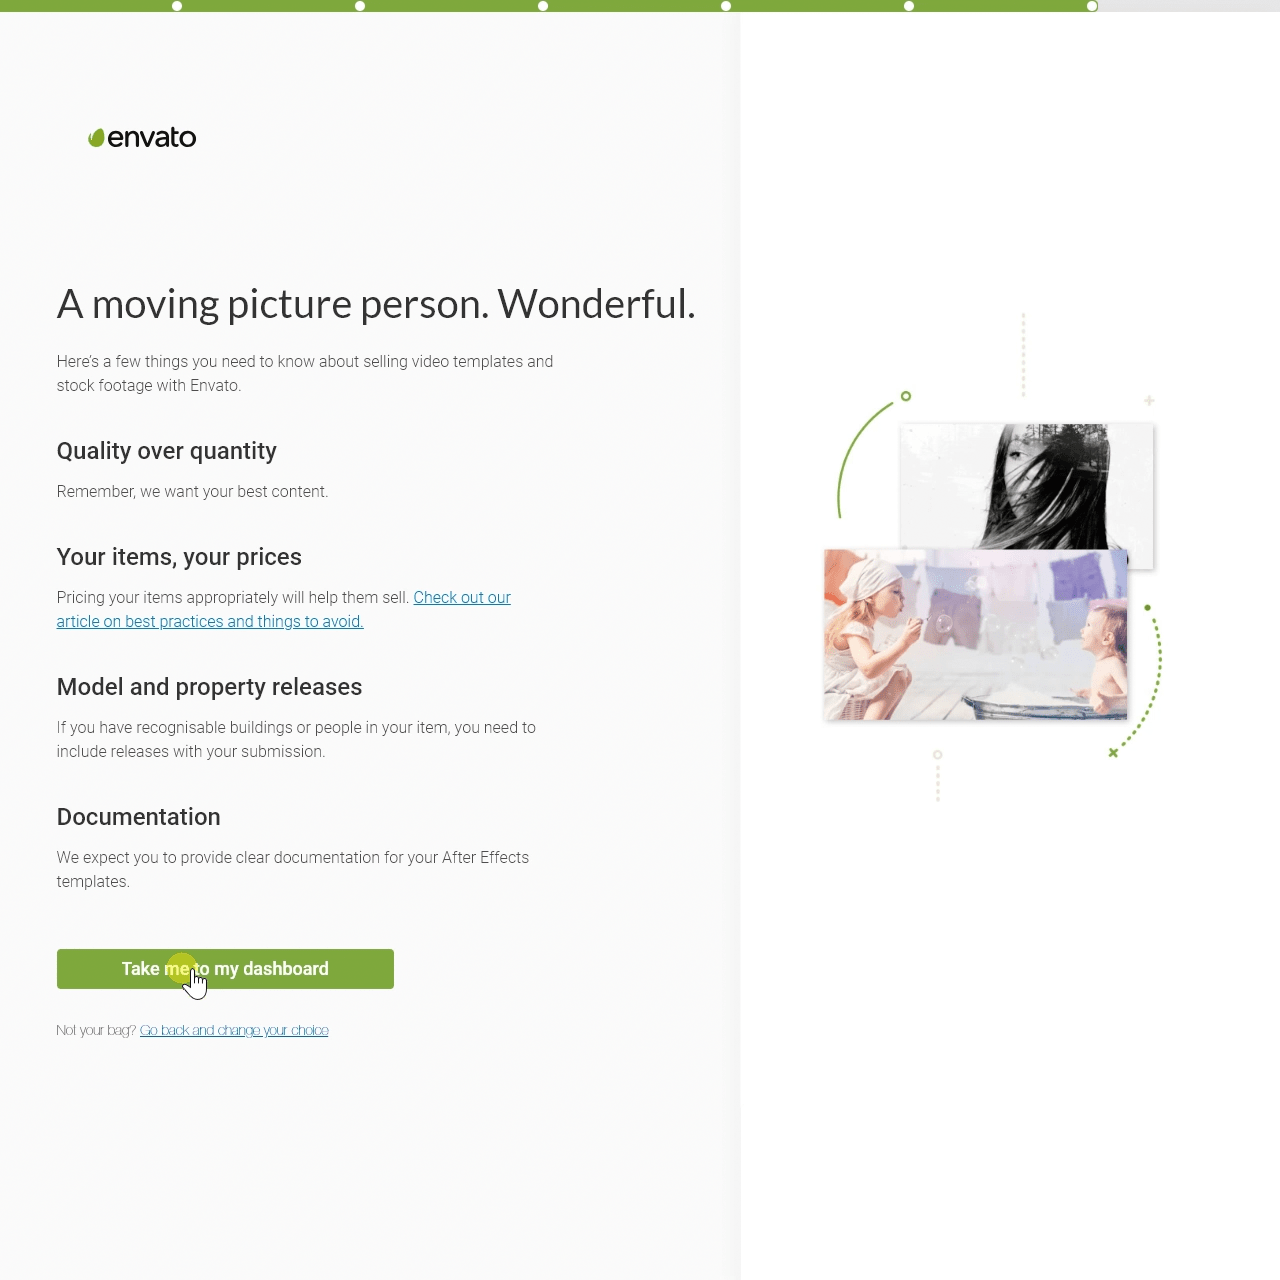
Step 6
Dashboard
Welcome to your Dashboard. This section has some quite important info.
This is where you have access to the comments made by users on your different products and you can answer them right here. It is important to have in mind that if the comment’s author has purchased any of your items, the word purchased appears next to their username.
You can also have a look at the recent Envato announcements. They are usually important, updating you on marketplace changes or questions on marketing campaigns that are about to happen, such as seasonal promotions and the month’s files (if you want, you can offer your product as a free item of the month. If yours get picked, it will be made available to users in the community for free. What do you get out of it? Buttloads of traffic and views on your profile and the remainder products. Usually, the submissions need at least a 4-star rating or more than 50 sales).
Using the Dashboard, you also have access to the link that allows you to upload new products, week stats, fun facts (random info on your history), resource links for authors (basically the same information found in the article library for Envato’s authors).
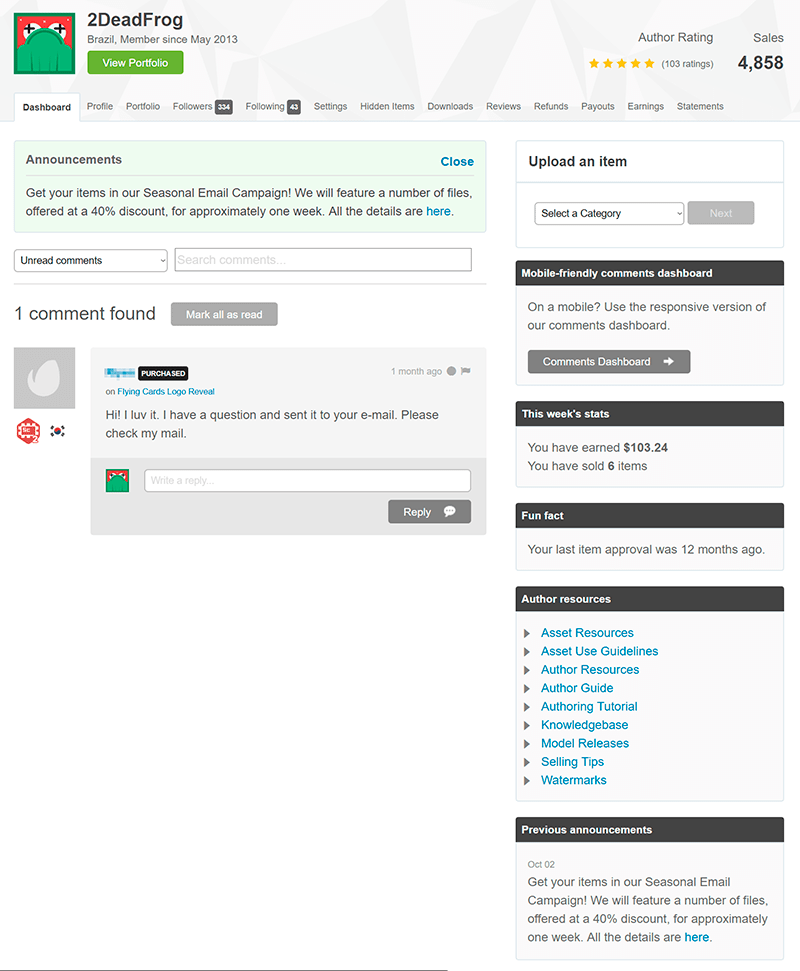
VideoHive Dashboard
Settings
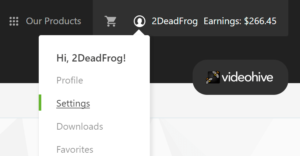
By putting the mouse over your username, you have access to your account’s management menu. Click on Settings, there are some important settings we need to make. I will only deal with the most relevant ones.
Profile
This is where you will customize your profile. When accessing your item on VideoHive, the visitor who is really interested in purchasing probably wants to know more information about you. A good profile that conveys trustworthiness and professionalism increases the chances of having the user trusting you and buying your product.
Avatar
The avatar is an image that will depict you on every product page of yours. Often, that’s the logo or photo of the author. Use as much creativity as possible in an image up to 80×80 pixels.
Homepage Image
This is a highlighted image at the top of your profile. It must have 590 x 242 pixels.
Show background for avatar in header?
I tried to have a better understanding of what this option means, but turning it on and off does not make any difference in the profile’s visual components. It must be some old functionality that is still there for some reason.
Show country on your profile and badges
Below I provide more details about badges, but, when this is turned on, it shows an icon of your country of origin below your username, both in your profile and on the pages of your items.
Profile Heading
Type a title that will be shown prominently at the beginning of your profile.
Profile Text
This is where you write a message for those who visit your profile. You can use HTML codes to customize your post. This detail is important because you can use those same codes to customize the description of your products later on. I will give a better explanation to use HTML tags in the article on how to create a product.
Available for freelance?
If selected, this option makes it clear to visitors that you are available for freelance jobs. A good way to generate new business.
Badges
Badges are tiny icons that appear next to the author’s name. Briefly put, they are a way of motiving the authors, who always want to get a new badge, and also a way to encourage the buyer, since they get important info on the author thanks to badges.
For instance, the videolancer profile has the following badges:
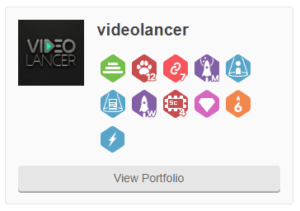
Just looking at the badges, I know that he has more than 1 million dollars in sales, has sent more than 1.000 users to Videohive through affiliated links, was once one of the 20 best authors of the month and the week, was also a featured author and product (this makes your profile and product on the front page of VideoHive featured), has already bought more than 100 items in Envato, he is also an exclusive author and has been in the community for more than 6 years.
Phew, that’s enough information already! You can see the details of each badge by putting the mouse over it.
The only badge-related option you have on settings is to reorder how they appear.
Click here, get acquainted with every badge and pick the one you will chase!
Social networks
These social networks will be shown on your profile. Tip: Think well about where you want to direct your visitor’s attention. Some social networks are quite distracting, I would prefer just to share networks where I have relevant content to share.
Item support settings
Providing support to your products is not mandatory, but it’s certainly a good way for you to solidify your relationship with your customers!
In my case, I always provide support to those buyers who need help to better understand the products. When that service is done, I encourage them to assess my product and leave a review. This is quite helpful to sustain my high-rated products. I will explain everything about product rating in the article on product creation.
You can pick the best option to provide this support: Do not provide support, support via comments on the product, via a specific URL (if you have a website, forum, etc.), or getting in touch via email through a form.
The last option is the best in my opinion because the customer can get in touch directly, so I will have his email address. And this is very useful when looking for user feedback on my products. It is always an opportunity to improve my products.
Item support vacations
Do you fear the possibility of having to provide support to your products and never having a vacation because of it? Don’t worry about it, you can set a vacation period, telling your customers that you will not be able to support them during that span. Personally, I’ve never used it.
Author Teams
This is quite an interesting function. It provides you with the ability to add other users to your team. Practically speaking, these other authors will be able to answer comments and reviews of your products. In other words, you can give and get help when it’s time to provide support to your products.
Tax Information
As the Envato kept structuring itself to become a digital giant, some issues got a little bureaucratic. One of those topics is the tax information you need to provide. Since Envato is now based in the United States, you will need to submit a form with personal information to the US government.
However, if you are not an American citizen, and depending on your country’s tax agreement with the US, a percentage of the value of your product will be deducted (only from the value of the product, without including the buyer’s fee) when it is acquired by an American citizen. Different countries have different agreements with the United States, but, generally speaking, up to 30% may be deducted. In my case, Brazil does not have this agreement, and I pay 30%. For the past two years, I’ve paid $2,985.44 in fees, money I’ve never actually met, but I do miss it already!
Check if your country has an agreement with the United States in this table, in the Copyrights column. Since Trump migration policies are very tough, I’m seriously thinking about moving to Cyprus.
Tax Summaries
At the end of the tax period, you will get a report from the US government, informing you how much you have paid in fees. These reports are available in this session, and you will also get a letter at your physical address.
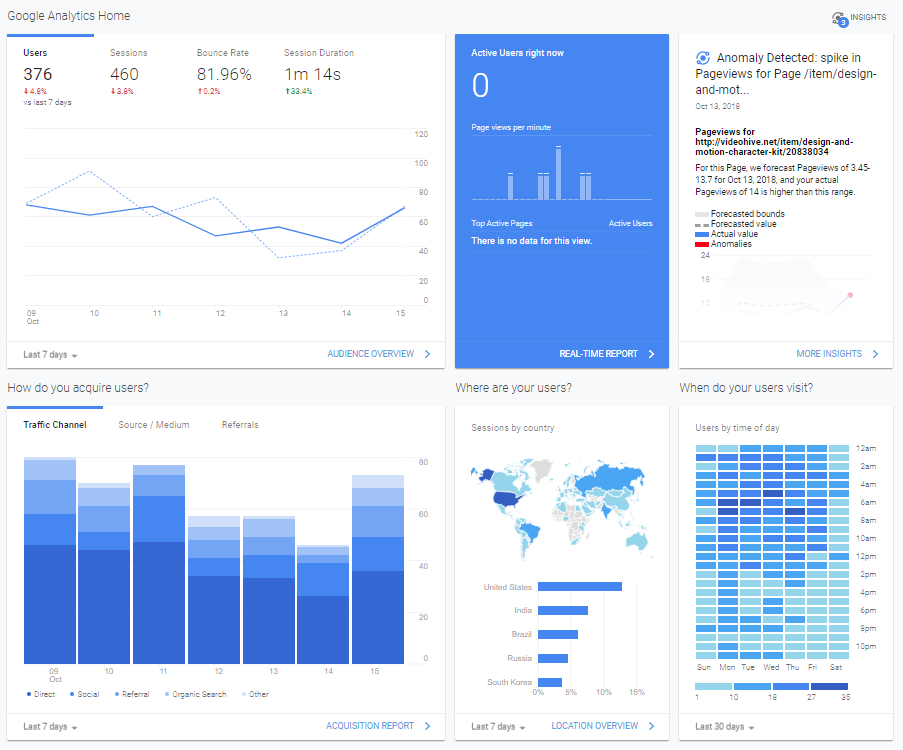
Google Analytics (just for Elite Authors)
This option is still in beta phase and limited only to Elite Authors, which is to say those have sold over $75,000. It gives you access to Google Analytics for your profile and products, which is quite interesting. Through it, you can see how many daily visits your profile has, which products are most visited, where your visitors are coming from. This will help you quite a lot understand who your visitors are, and how you can interact better with them.
Featured Item
This is where you define a product to be featured on your profile. When people visit your profile, they will see this product on the right side, just above your badges and the links to your items.
Exclusivity of your items
Have you changed your mind about the exclusivity of your items? You can change that at any time during this session. But that change takes 30 days to be in place.
Collections, Favorites, Followers e Following
You have some tools available to sort your favorite items. When you browse by products, there are 3 icons below the product image. The first is a heart, when you click on it, the item goes to your favorite products. The second button is there to create or add the product to collections. This simplifies the process of advertising several products which have one trait in common, like my football products and character kits, for instance.
VideoHive has some features that resemble a social media platform, you can follow and be followed by other community members. Using Follow Feed you can see new releases from people you follow, before this option appeared on the front page, but it is now hidden alongside your collections, and you can get there through the main menu/collections, and then you can click on the Follow Feed tab.
Final Presentation of the Profile
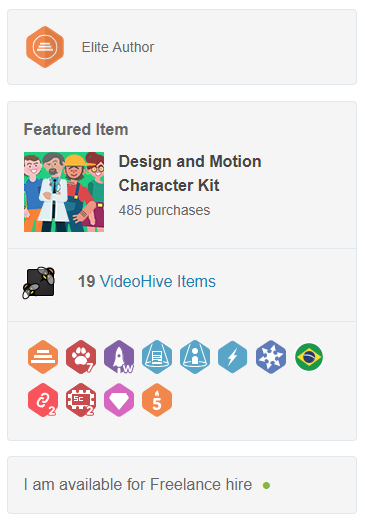
After you have tweaked everything, your profile will be similar to mine. I have an initial message (you can also use a space to promote a new product), your best product as the featured product on the right, some public collections helping to organize your products and an email contact form for support or inquiries.
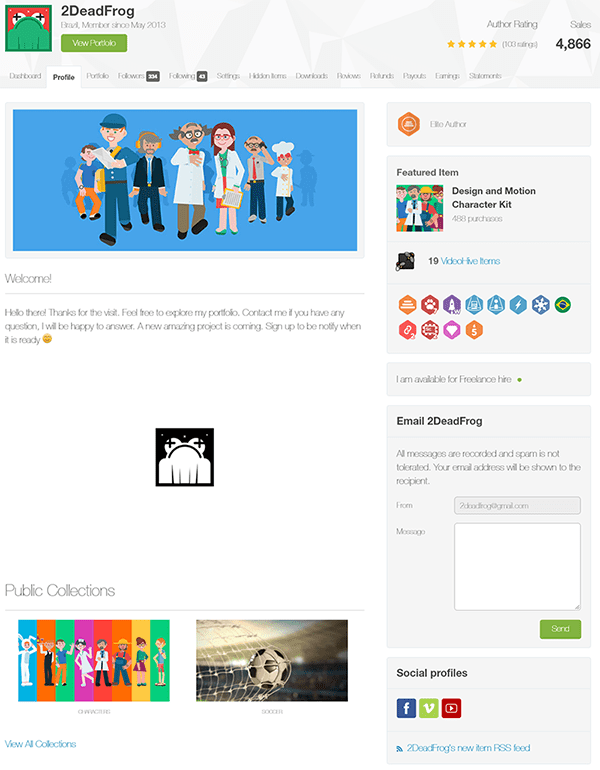
As time goes by, visitors will have access to the total number of sales, and the total and the average number of ratings received in the evaluation of purchased products.
What is the next step? That’s to create a product!
Your profile is all set and done, but something is lacking to make your account even more complete. We are talking about the products that you will put up for sale, of course! That’s the subject of the upcoming article.
It’s not just about having an idea, creating a project and making it available on VideoHive. There are a series of tiny secrets that I have been finding through the different projects published in the last 5 years, I will share them with you, to once and for all erase any doubts on how to turn an idea into a saleable product using the Motion Graphics knowledge you already have.
If you have interest in become VideoHive Author and want to be notified whenever new articles are online, subscribe to my newsletter. It will be an honor to have you on board with me through this journey.


